

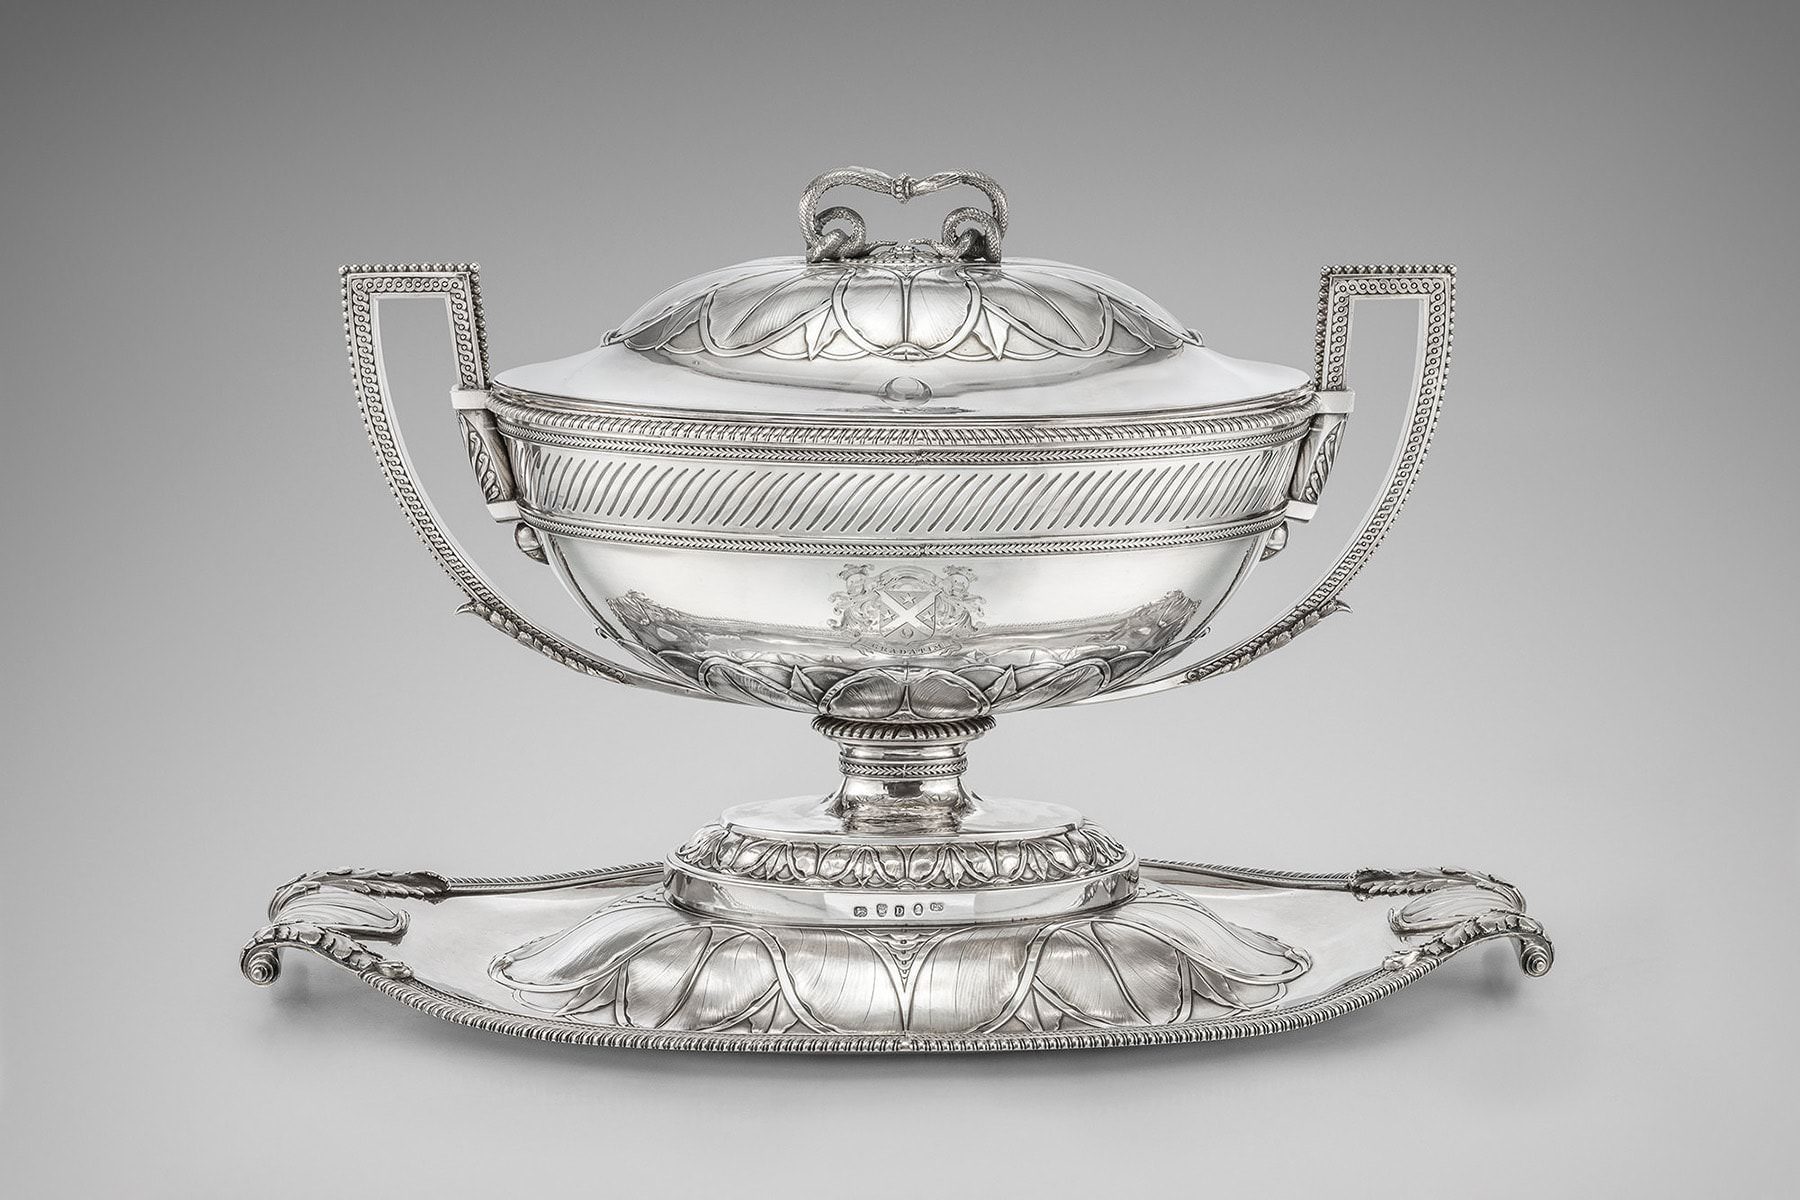
When photographing silver, there are a few basic things to keep in mind in order to get the best results. The first step is to make sure you clean your subject. Any dirt or fingerprints will show up in the photo, so it's important to start with a clean surface. Silver is a highly reflective surface, so it is important to avoid direct sunlight or other strong light sources when taking pictures. On the other hand, silver can also sometimes appear dull in photos, so it is important to use methods to help bring out the shine but maintain any detail. By following some of these simple tips, it can help you can capture beautiful photos of silver that show off its natural lustre, brilliance and detail.

One of the most important factors to consider when photographing silver is the background. The contrast between the bright silver and a dark background can really make the metal pop. A black velvet or leather backdrop is a classic choice, but bare in mind whatever colour you place the silver on will ultimately reflect into the item itself. Depending on how much clarity you need in the piece, you may want to consider a light back to place the silver on, simply so it reflects into the metalwork, therefore helping to brighten it nicely. Just be sure to position the silver so that there are no stray reflections that will distract from the overall effect. With a little careful planning, you can create stunning photos of silver that will really make your subjects shine.
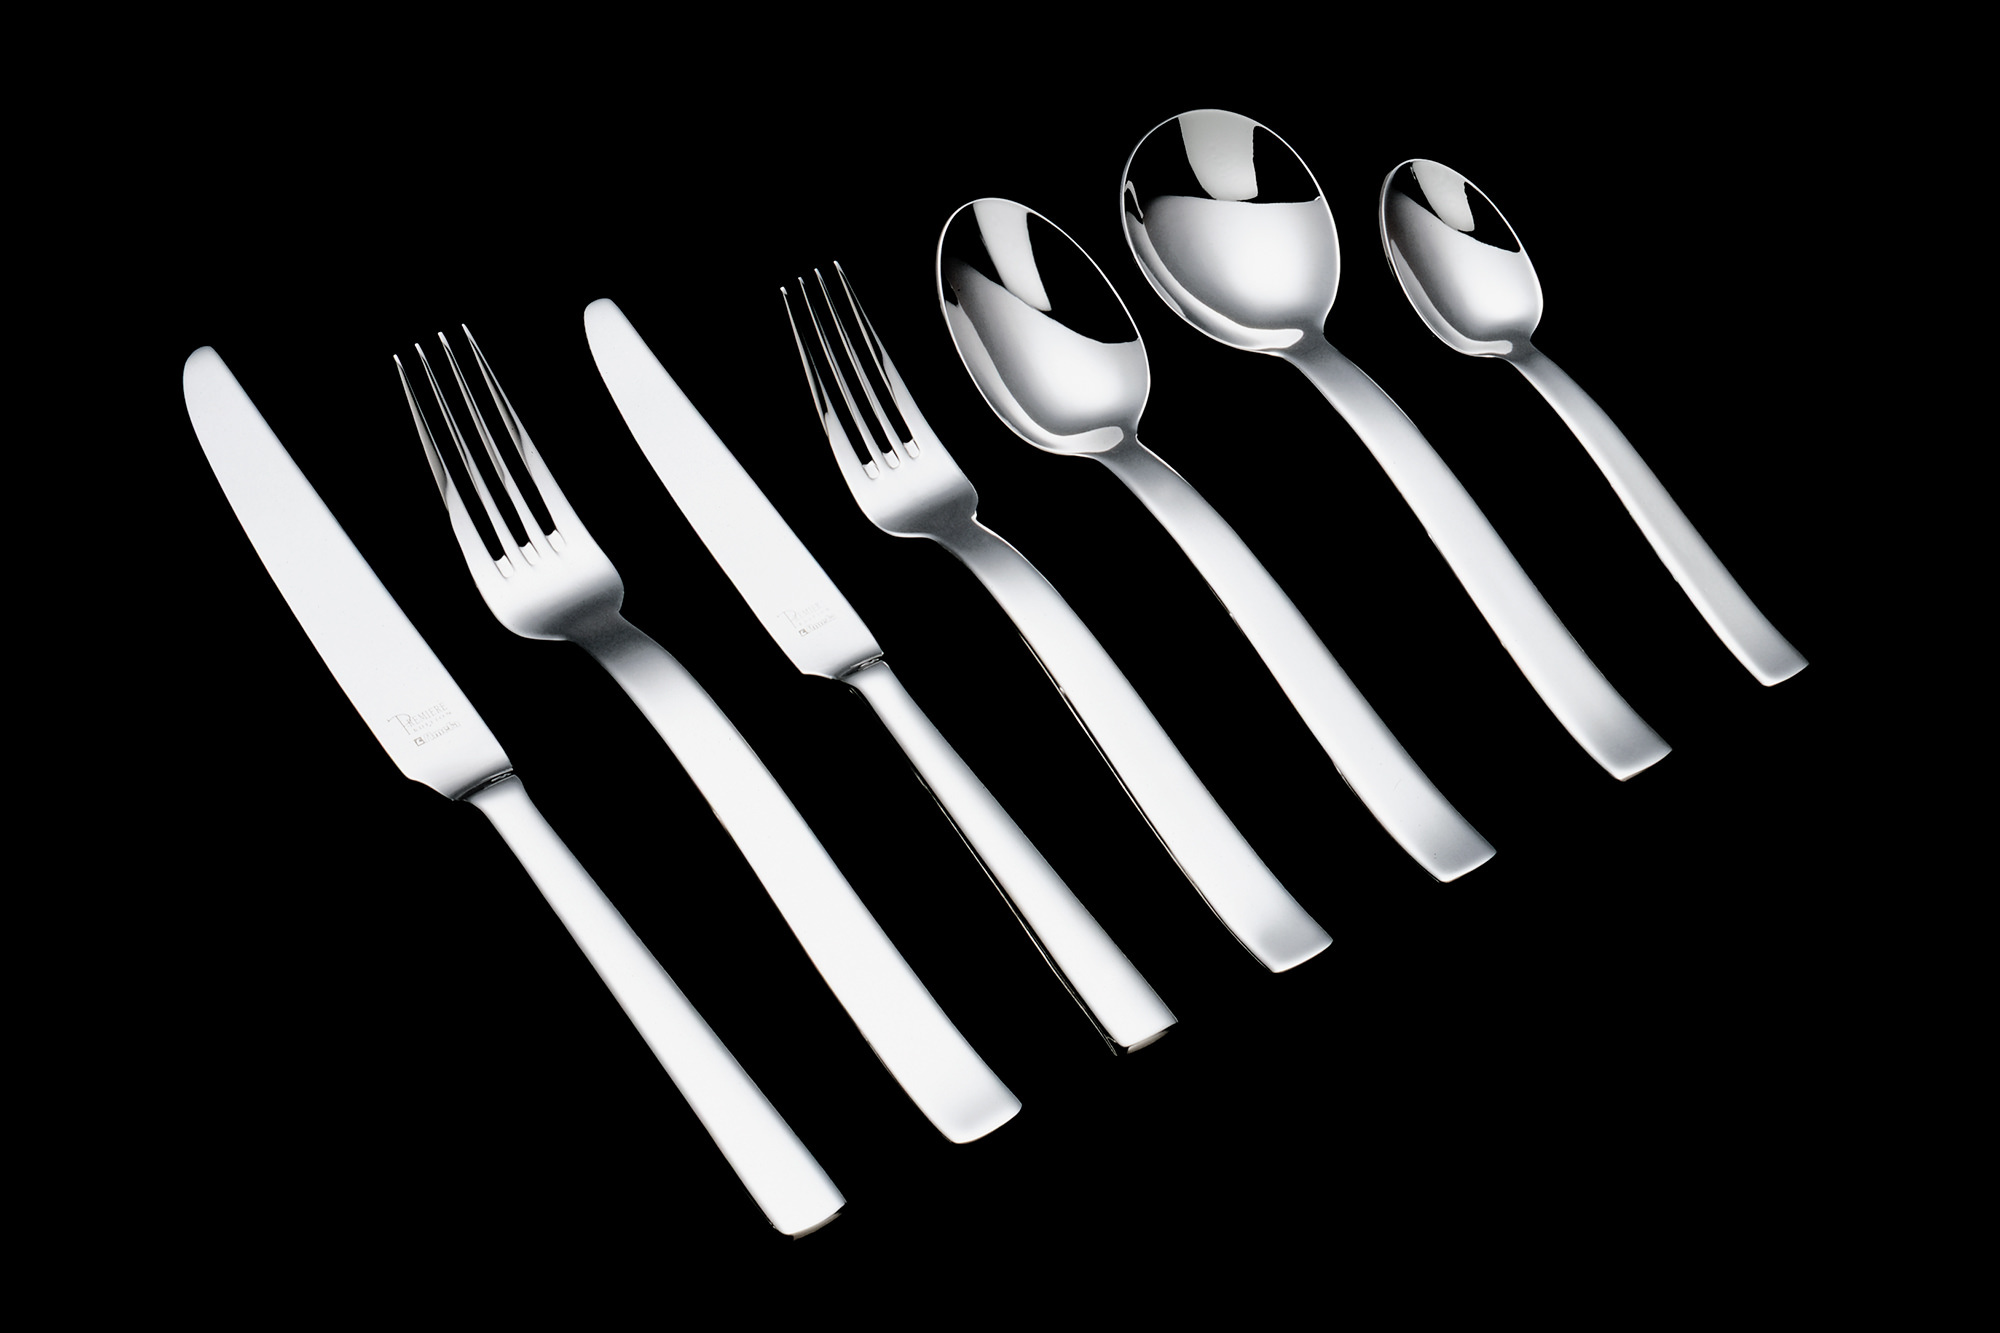
As with any object, the angle at which the camera is positioned can have a big impact on the quality of the photo. For example, if the camera is positioned too low, the photo may appear flat, 2-d and uninteresting. Conversely, if the camera is positioned too high, the photo might appear busy and cluttered. The best way to find the perfect position is to experiment with different angles until you find one that works best for the particular piece of silver you are photographing and the angle that shows the pieces off the best. For example, if you're photographing a silver vase, you might consider taking the photo from above, looking down into the vase, this will give the viewer a sense of the vase's shape and volume. Alternatively, you could try taking the photo from below, looking up at the vase. This will create a more dramatic effect, making the vase appear taller and more slender. In addition to the angle, it is also important to pay attention to how you frame the object in the camera. You may need to fill the frame with the item if there is plenty of detail to showcase, or perhaps its a small piece of silver in which case you might want to consider giving a little more breathing space around it in the image, simply so it helps gives a sense of scale.
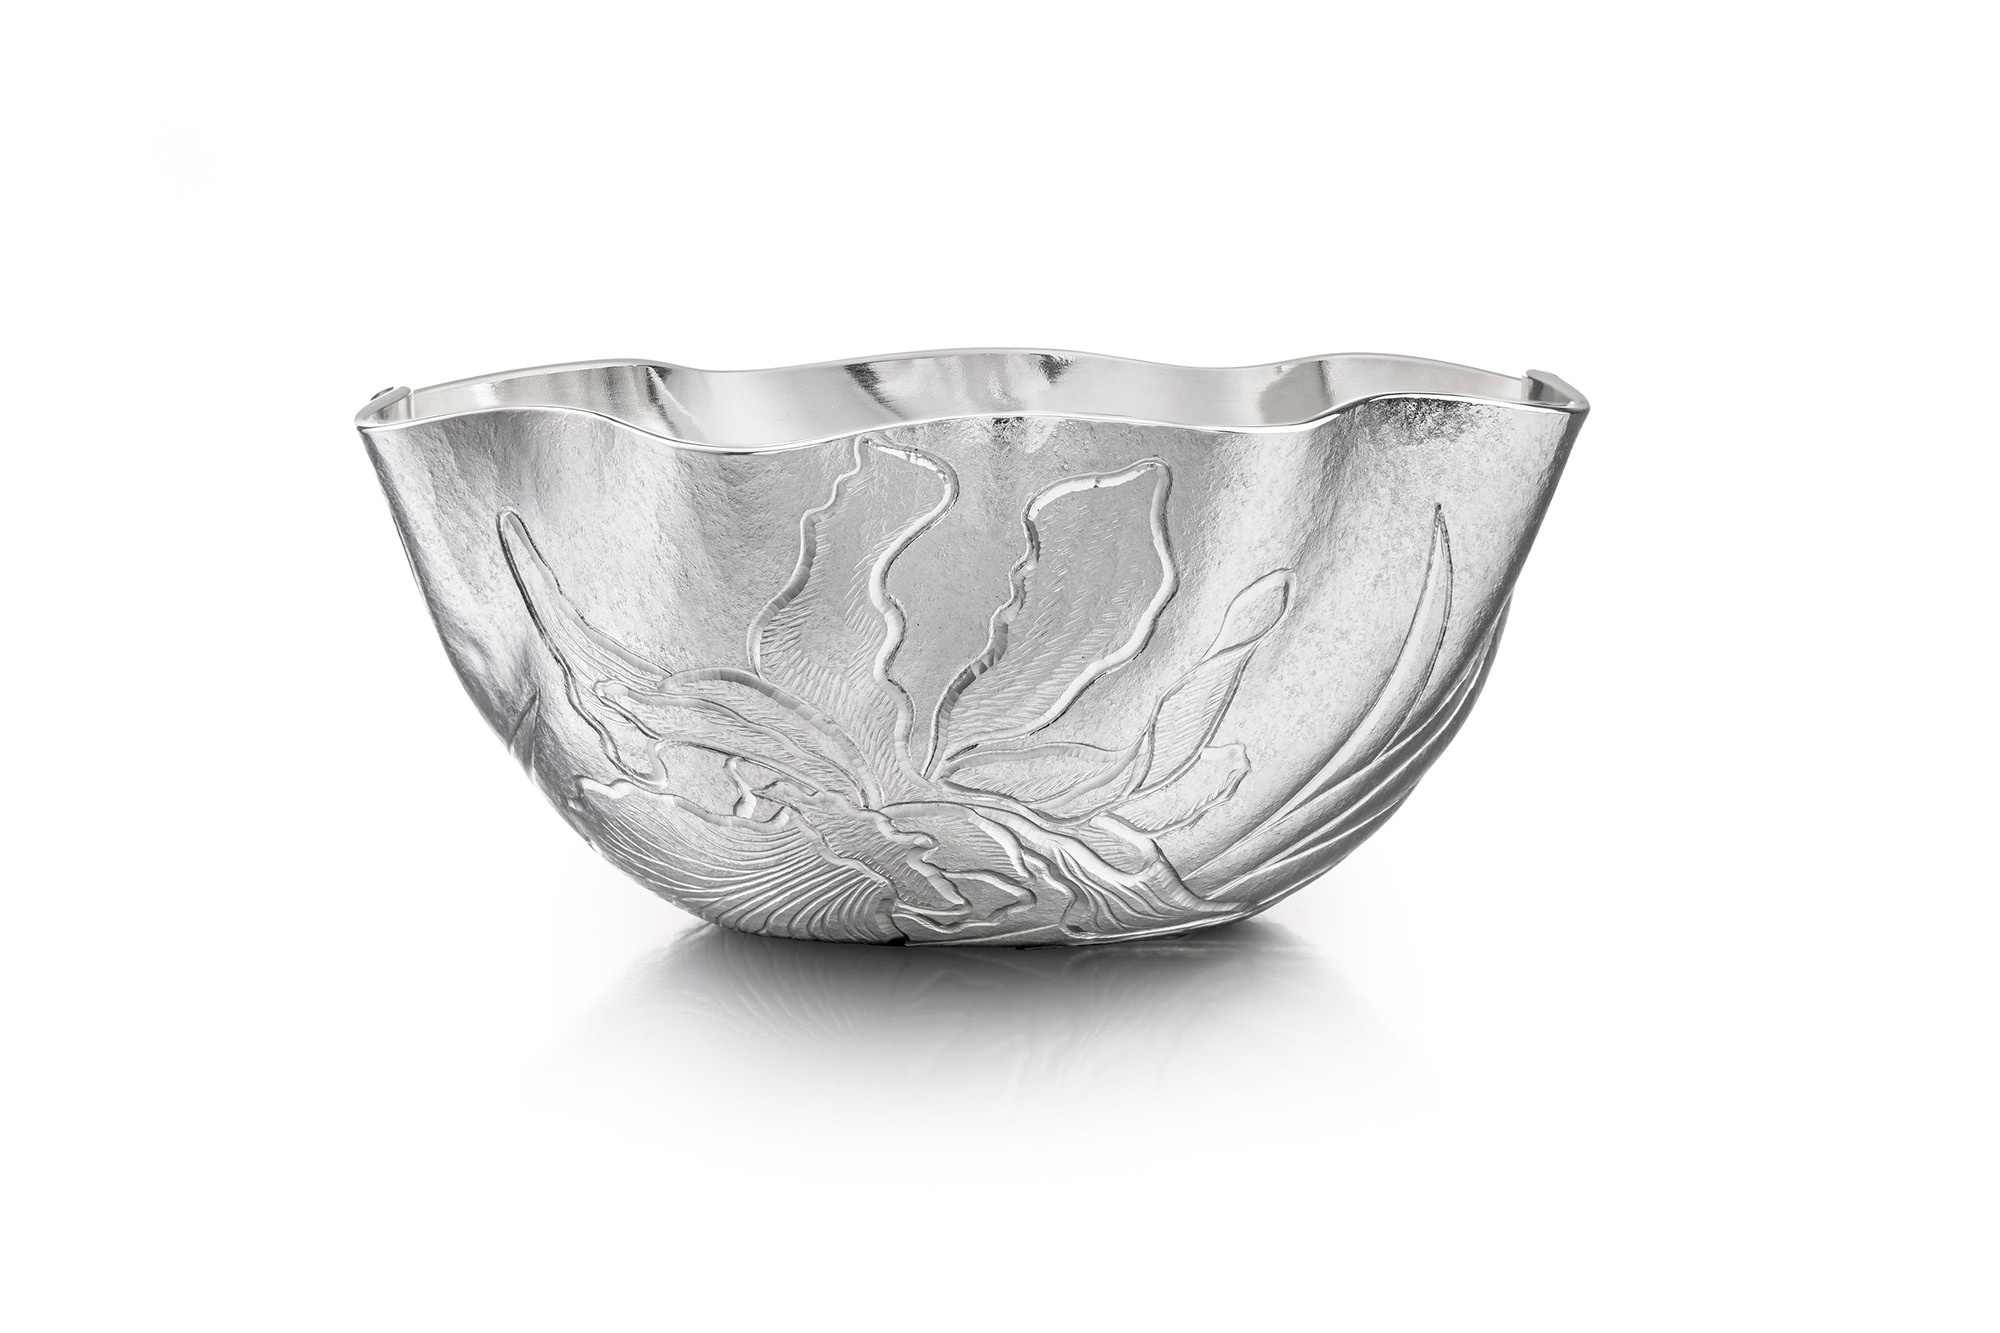
Whether you're photographing a piece of silver jewellery or an antique tea set, close-up shots can often help to highlight the intricate details and textures. To get started, choose a subject with interesting details that you want to focus on. Then, use a macro lens or close-up filter to get in close and capture a clear close-up shot. If your camera doesn't have a macro setting, simply move in closer to your subject until it fills the frame. Once you have your shot, pay attention to the lighting. A raking light can sometimes help to bring out any texture or engraving, whilst helping to create dramatic shadows. Experiment with different lighting techniques until you find the one that best highlights the detail of your subject. No two objects will often light the same
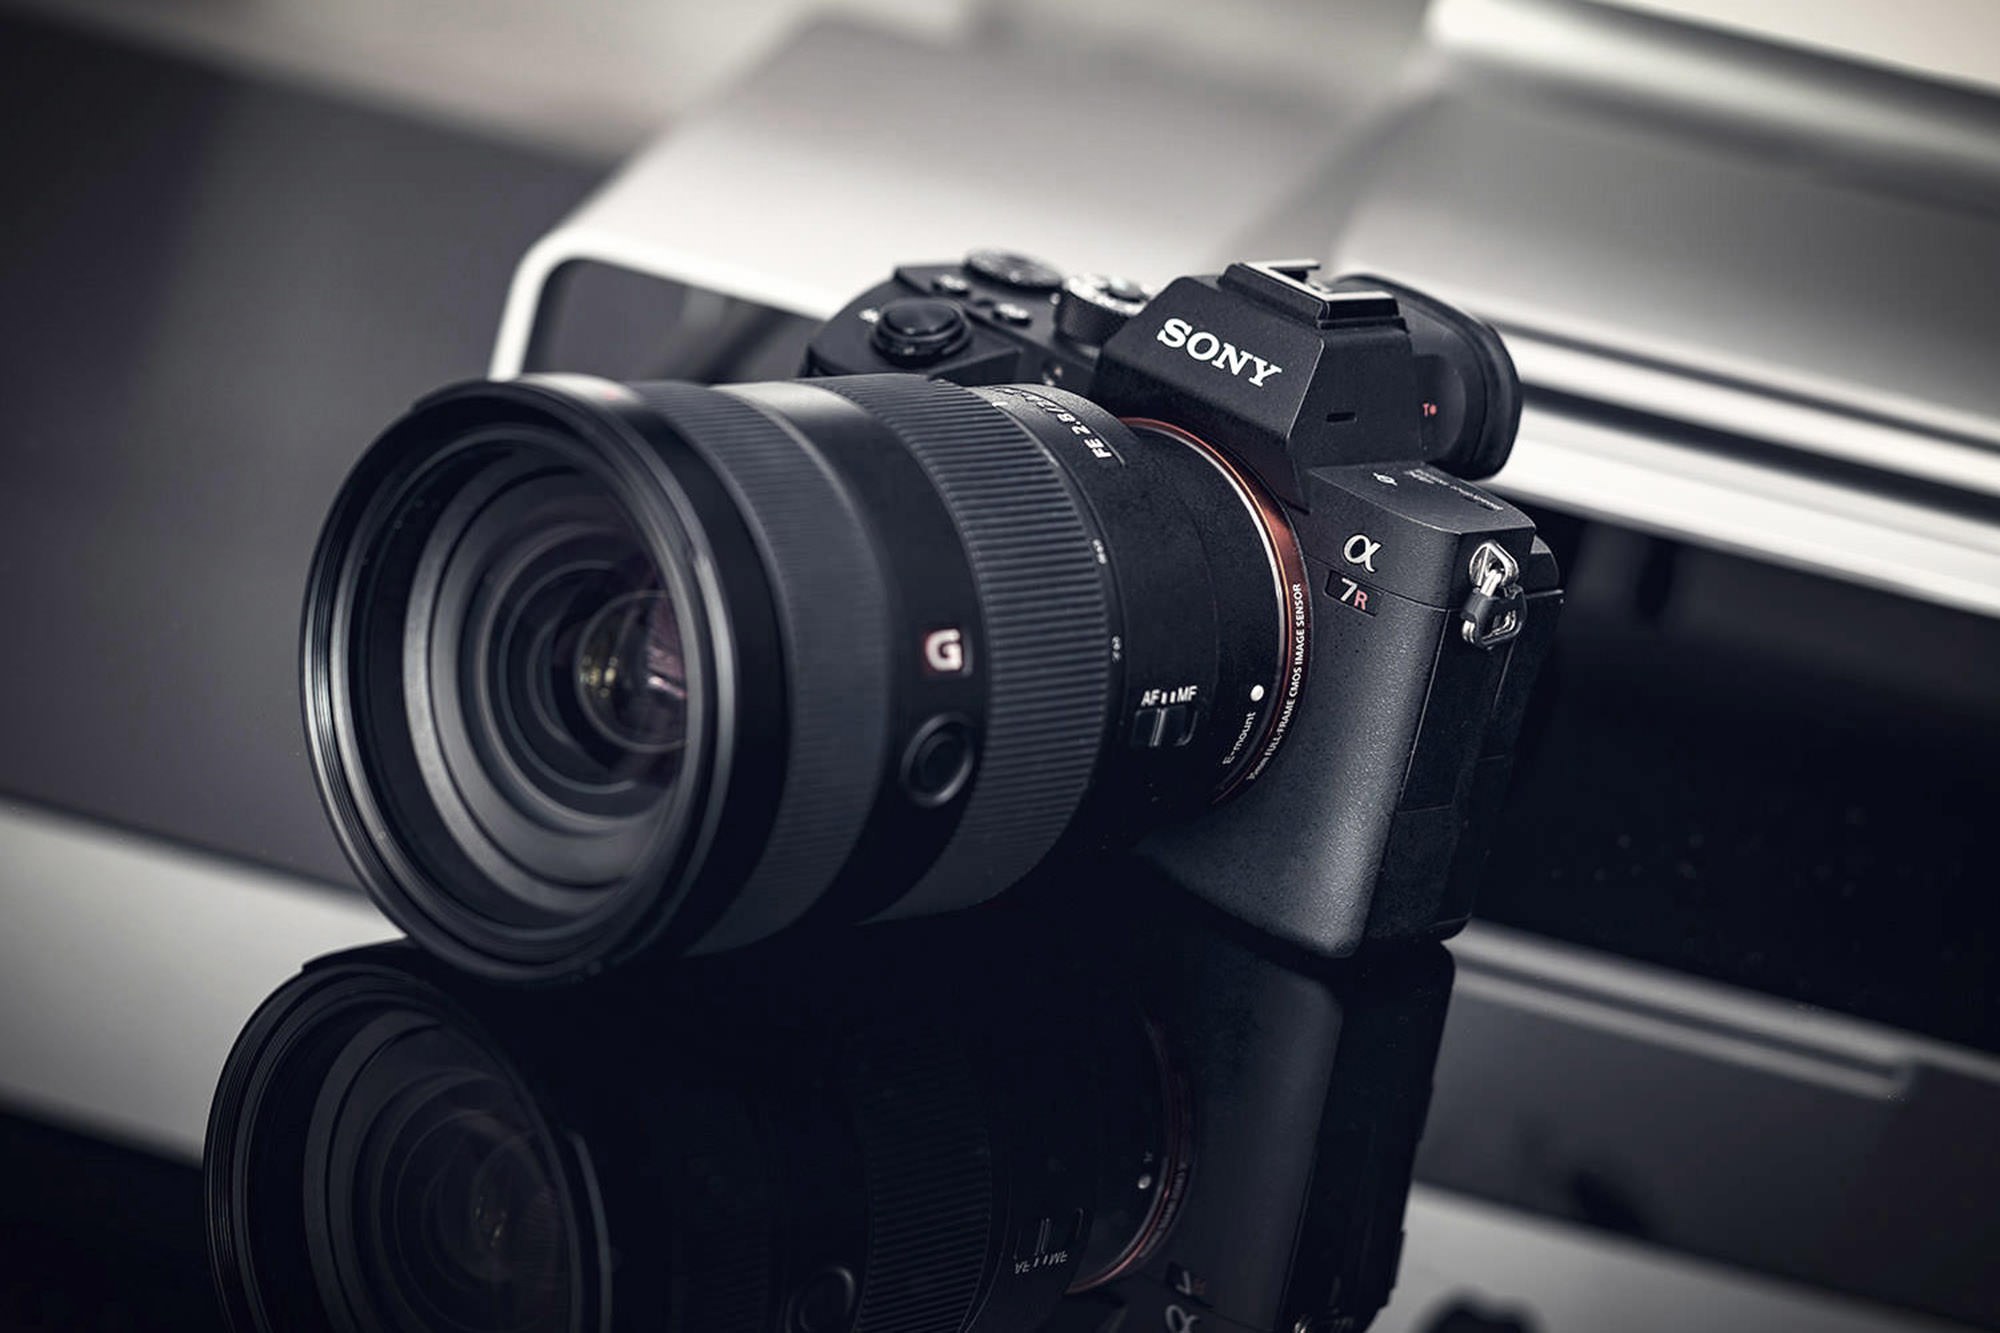
If you're new to photography, understanding your camera's settings can be daunting. However, it's important to take the time to learn how to use them, especially if you're hoping to photograph silver objects. Here are a few tips to get you started. First, make sure that your camera is set to the correct exposure setting. This will ensure that your pictures are properly exposed and not too dark or too light. Second, use a tripod or other stable surface to keep your camera steady. This will help to prevent blurriness in your photos. Finally, consider taking multiple pictures of each object from different angles. This will give you more options to choose from when you're editing your photos later.

When taking photos of silver objects, it's important to consider what is around you in terms of reflections. Reflections can add depth and dimension to a photo, but they can also be distracting and unwanted. When taking a picture of silver, pay attention to the reflections showing in the metal. If they are too bright or too busy, they will take away from the main subject of the photo. Instead, try to position the silver so that the reflections are subtle and add to the overall composition. For example, you might angle the silver so that it reflects a nearby object, person or colour. Alternatively, you might decide to use a background that provides an interesting reflection, such as a mirror or a body of water. By carefully controlling the reflections in your photos, you can create images that are both striking and serene.
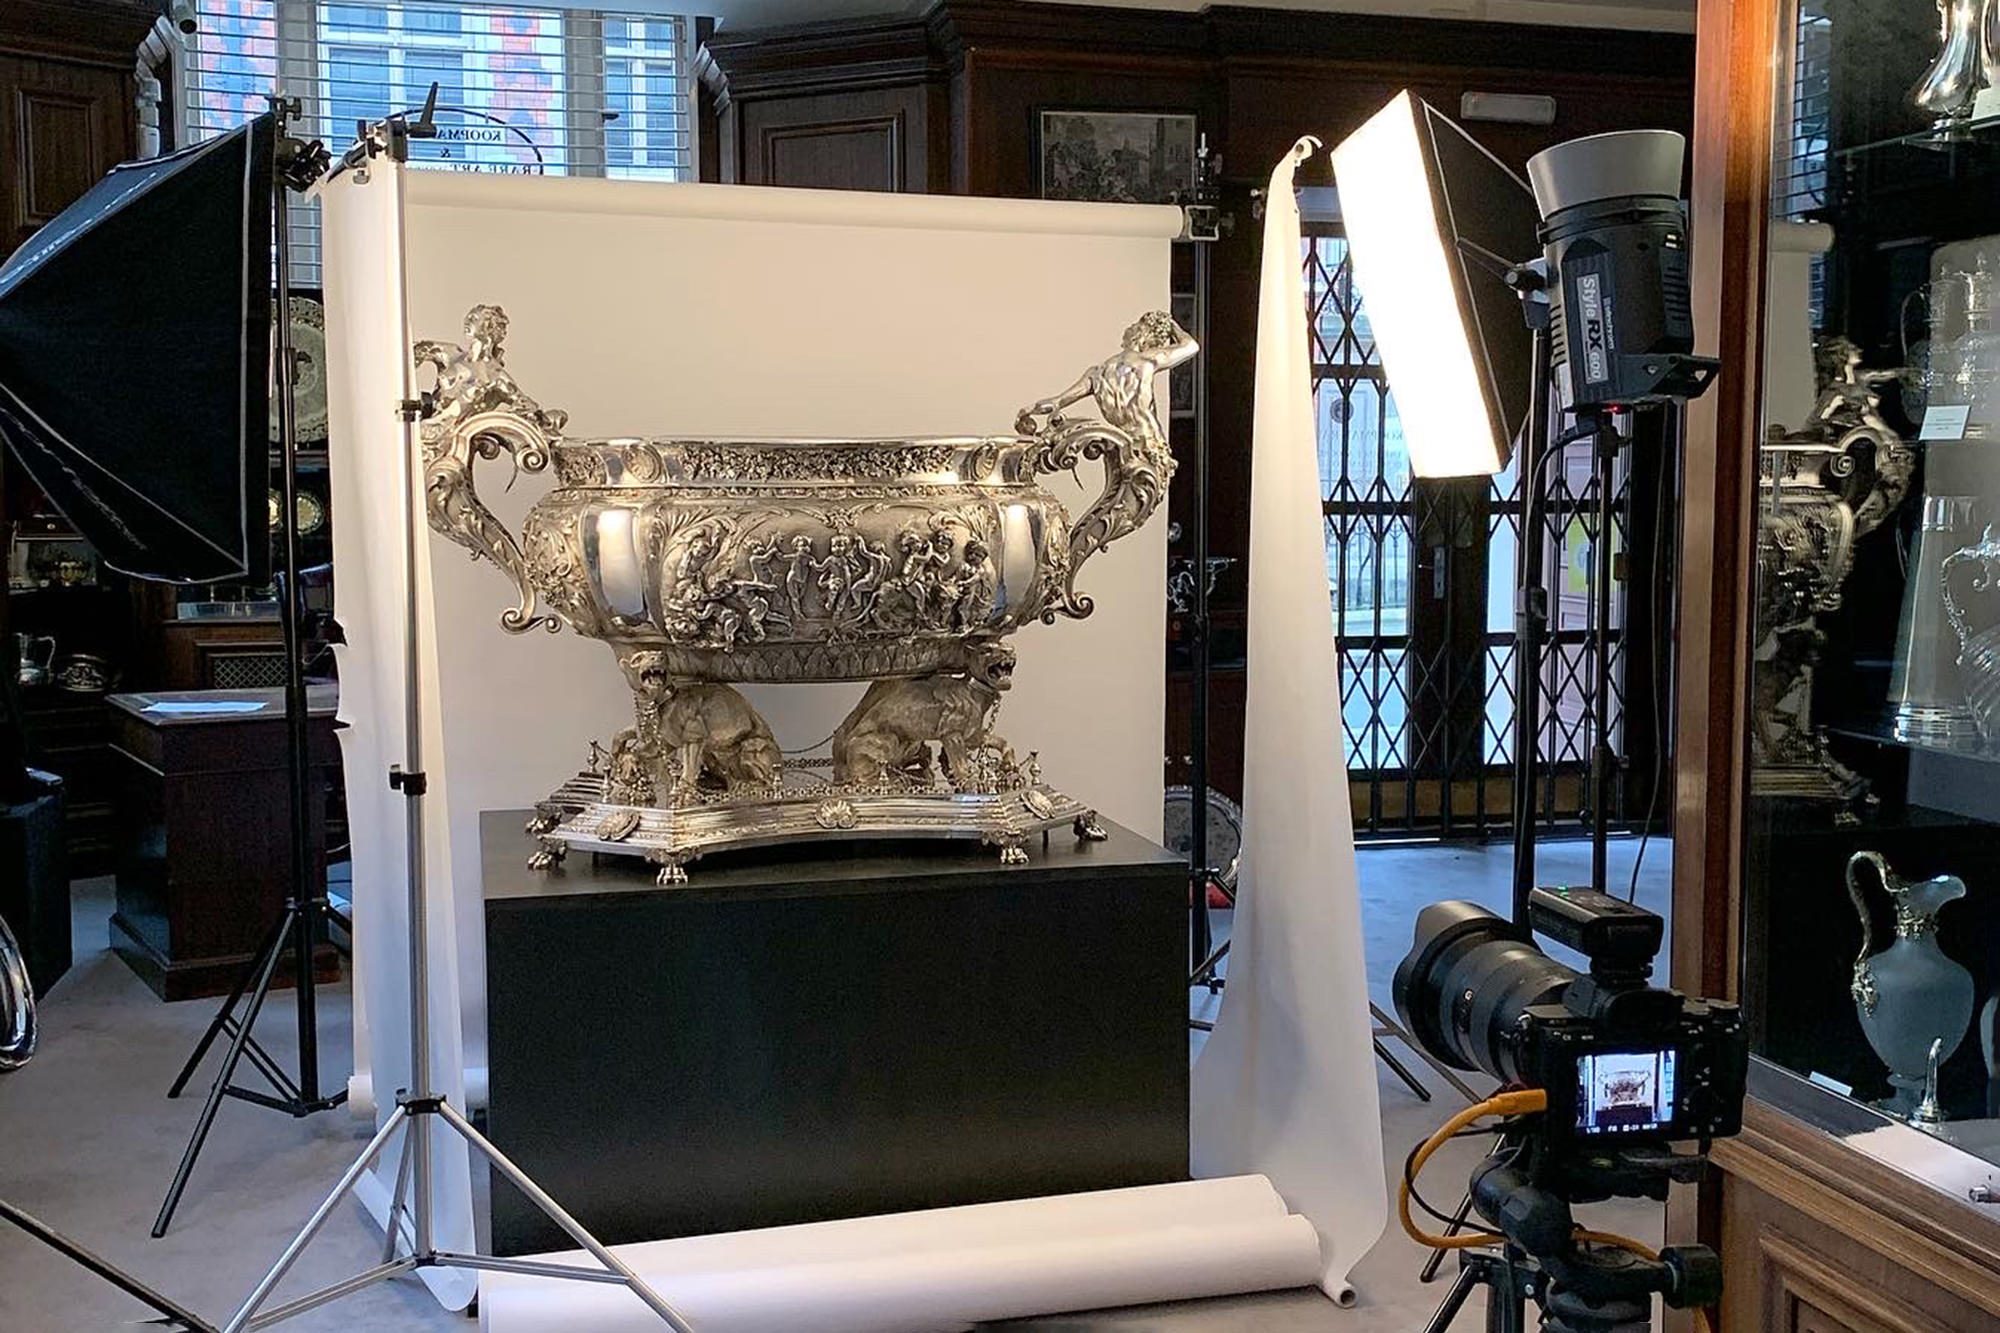
One of the most important aspects of photographing silver is lighting. Lighting can make or break the image of a shiny object like silver. Create the right lighting and it can help to highlight the details and unique qualities of each piece, while the wrong lighting can make even the most beautiful silverware look dull, or too bright and with no detail to show. When taking pictures indoors, try to use natural light whenever possible, maintain a nice soft light with no harsh sunlight. When taking pictures outdoors, be aware of the direction of the sun and how it will cast shadows on your subject. Perhaps consider using the light outside but shoot under a shade to avoid harsh highlights. If you decide to use artificial light, be sure to use a diffuser to soften the light and avoid creating harsh shadows. You might also want to invest in a white reflector, which will help to bounce light onto your subject. By paying attention to your lighting, you can capture the true beauty of silver.
When it comes to silver photography, editing can sometimes play a huge part. By making a few tweaks in post-processing, you can really make your silver photos pop. There are a few editing tips that can help to bring out the best in your silver photos. For example, boosting the contrast and vibrance can help to bring out the metallic sheen, another is to desaturate the colours slightly, to avoid any colour casts or reflections on the piece. Adding a bit of sharpening can also make the details really stand out. Of course, every photo is different, so it's important to experiment and find what works best for you. But with a little trial and error, you'll be able to fine-tune your silver photography skills and produce some stunning results.
Silver can be one of the trickiest things to photograph, but by considering these simple tips, you can dramatically improve the quality of your silver photography and you'll be able to get some stunning results. From understanding your angles to paying attention to lighting and editing, there are a number of things that you can do to create stunning photos of silver objects. With a little practice, you'll be taking amazing silver photos in no time, so get out there and start experimenting! You might be surprised by the results. Who knows, with a little practice, you might even be able to turn your passion into a profession. Thanks for reading and I hope this article was helpful. Happy shooting!